
ONLINE ONBOARDING
Step-by-step tutorials to help you get started with OCLite faster.
Step 1: Global Configuration
Step 2: HRMS
1. HRMS Configurations – Manage Department
2. HRMS Configurations – Manage Designation
3. HRMS Configurations – Manage Job Classifications
4. Staff Management – How to Add New Staff?
5. Staff Management – How to Edit Staff’s Information?
6. Leave Setup – Step 1: Define Leave Types
7. Leave Setup – Step 2: Leave Entitlement Defaults
Step 3: Payroll
Step 4: Accounting
1. Accounting Configurations – Wizards
2. Accounting Configurations – Accounting Period
3. Understanding Chart of Accounts
4. How to Create and Manage Customer (Debtor)
5. How to Create and Manage Invoice
6. How to Create and Manage Receipt (Receive Payment)
7. How to Create and Manage Credit Note
8. How to Create and Manage Debit Note
9. How to Create and Manage Supplier (Creditor)
10. How to Create and Manage Receive Invoice
11. How to Create and Manage Self-Billed Invoice
12. How to Create and Manage Payment (Issue Payment / Payment Voucher)
13. How to Create and Manage Received Credit Note
Step 5: Pricebook
Step 6: CRM
Step 7: POS
Step 8: System Enhancements (Optional)
Global Configuration
1. How Do I Change My Username, Email, or Password?
2. How to Set Reports Template?
4. What Should I Do If I Forgot My Password?
HRMS
1. HRMS Configurations – Manage Approvers
2. Staff Management – Resign, Deactivate, Suspend & Unassign
PAYROLL
1. Manage Adjustments – Adjustment Purposes
2. Manage Adjustments – Add Adjustment Individually
CRM
1. Contact Book Overview (Leads, Accounts and Contacts)
3. Financial Transactions Overview
ACCOUNTING
Step 9: OC Lite Beginner Certification
Complete all onboarding modules to unlock and download your Beginner Digital Certificate.
How to Create a Counter
This guide explains how to create and open a counter in the OfficeCentral POS module.
A counter is required before users can perform sales transactions. Each counter represents a sales point or cashier station where transactions are recorded.
Where to Access
Point of Sale (POS) > Counters
How to Create a Counter
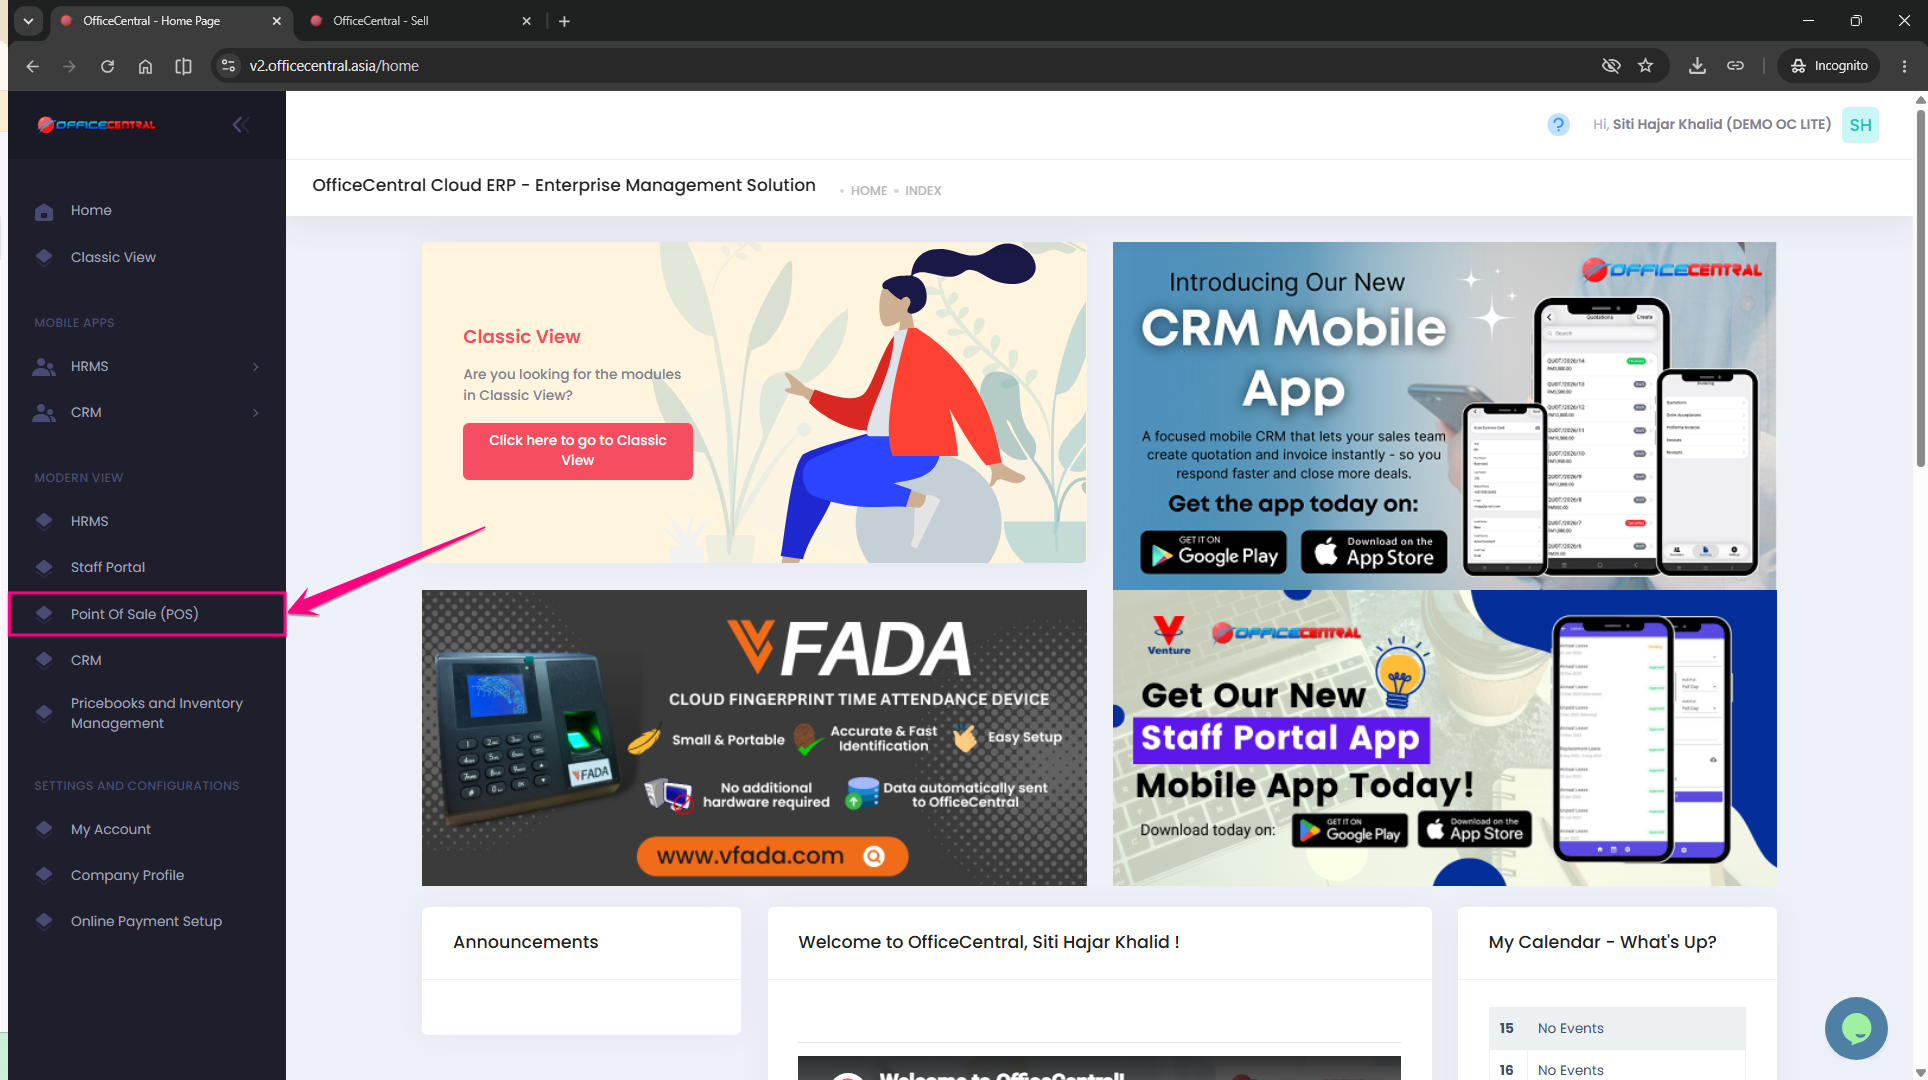
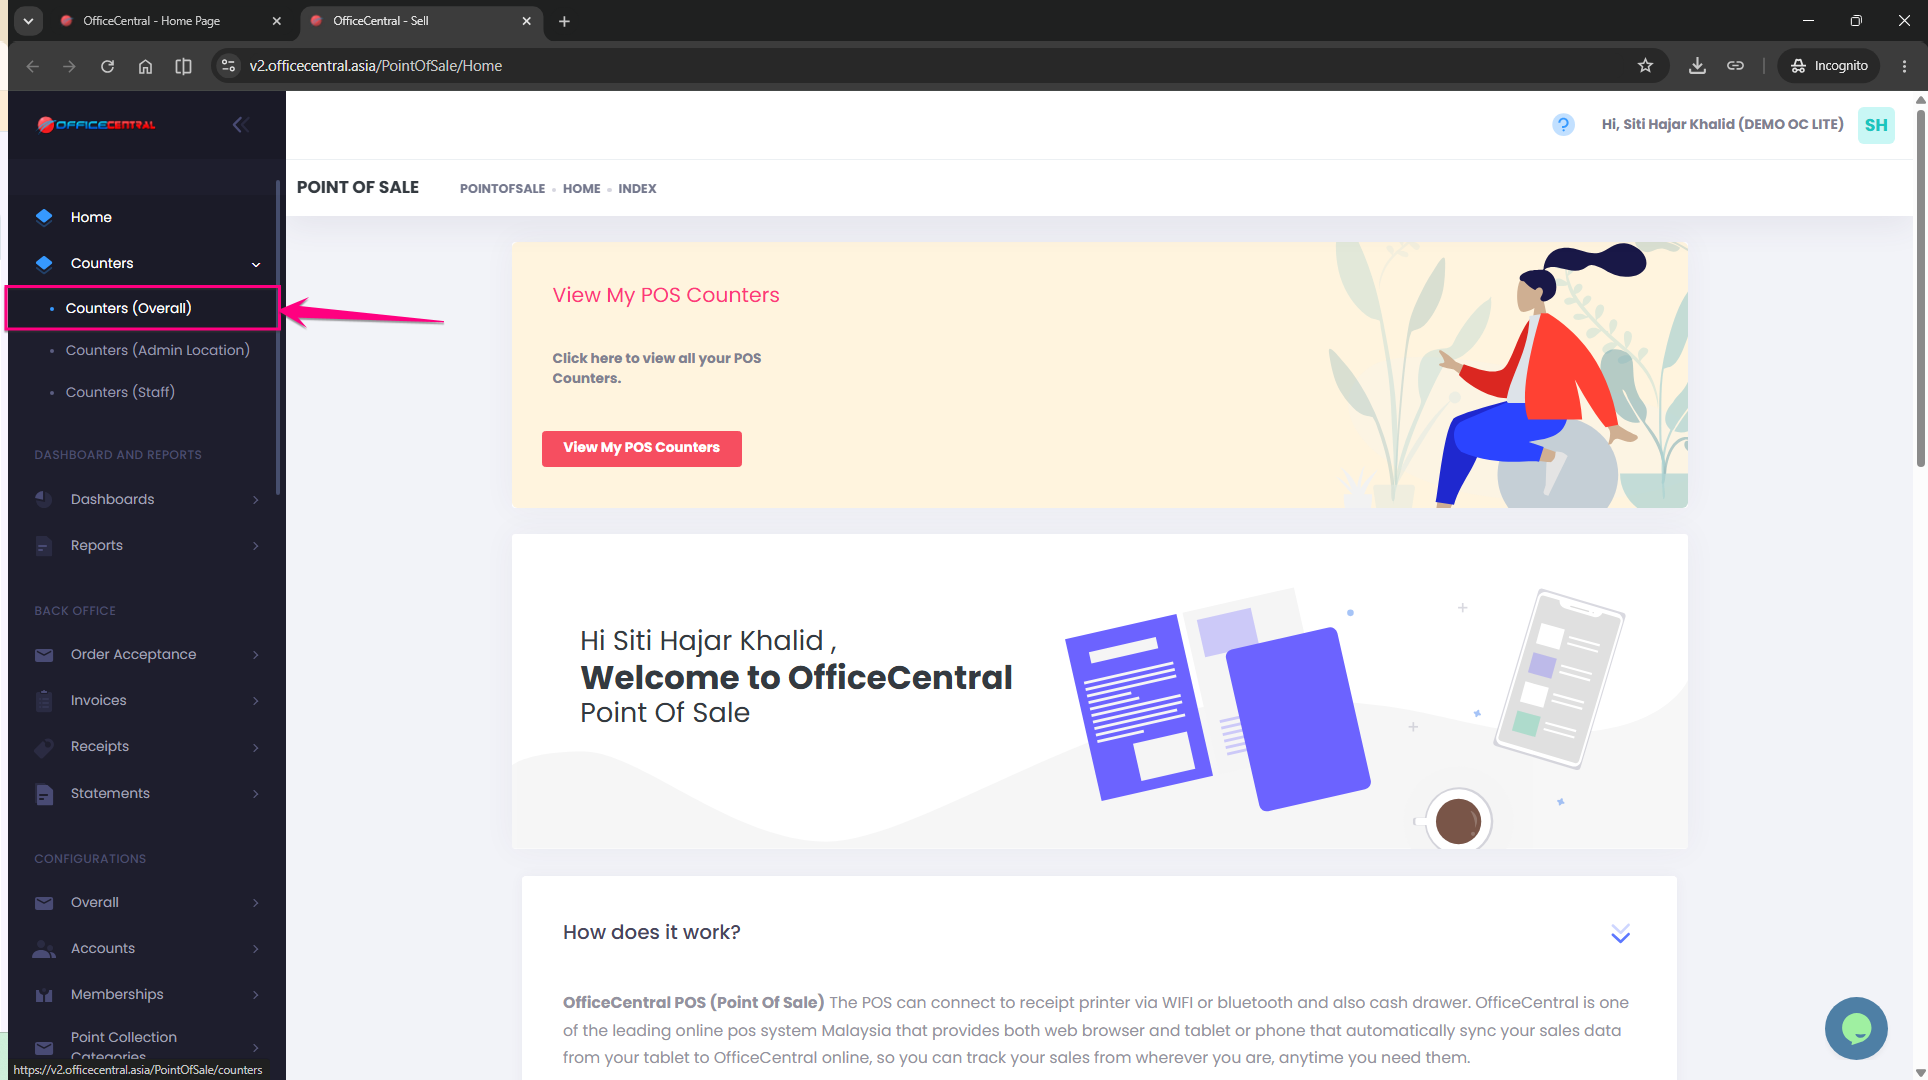
Step 1: Access the Counter Module
Go to:
POS > Point of Sale (POS)
Click Counters.
Select Counters (Overall) to view the list of available counters.
Use the screenshot below to locate the menu.
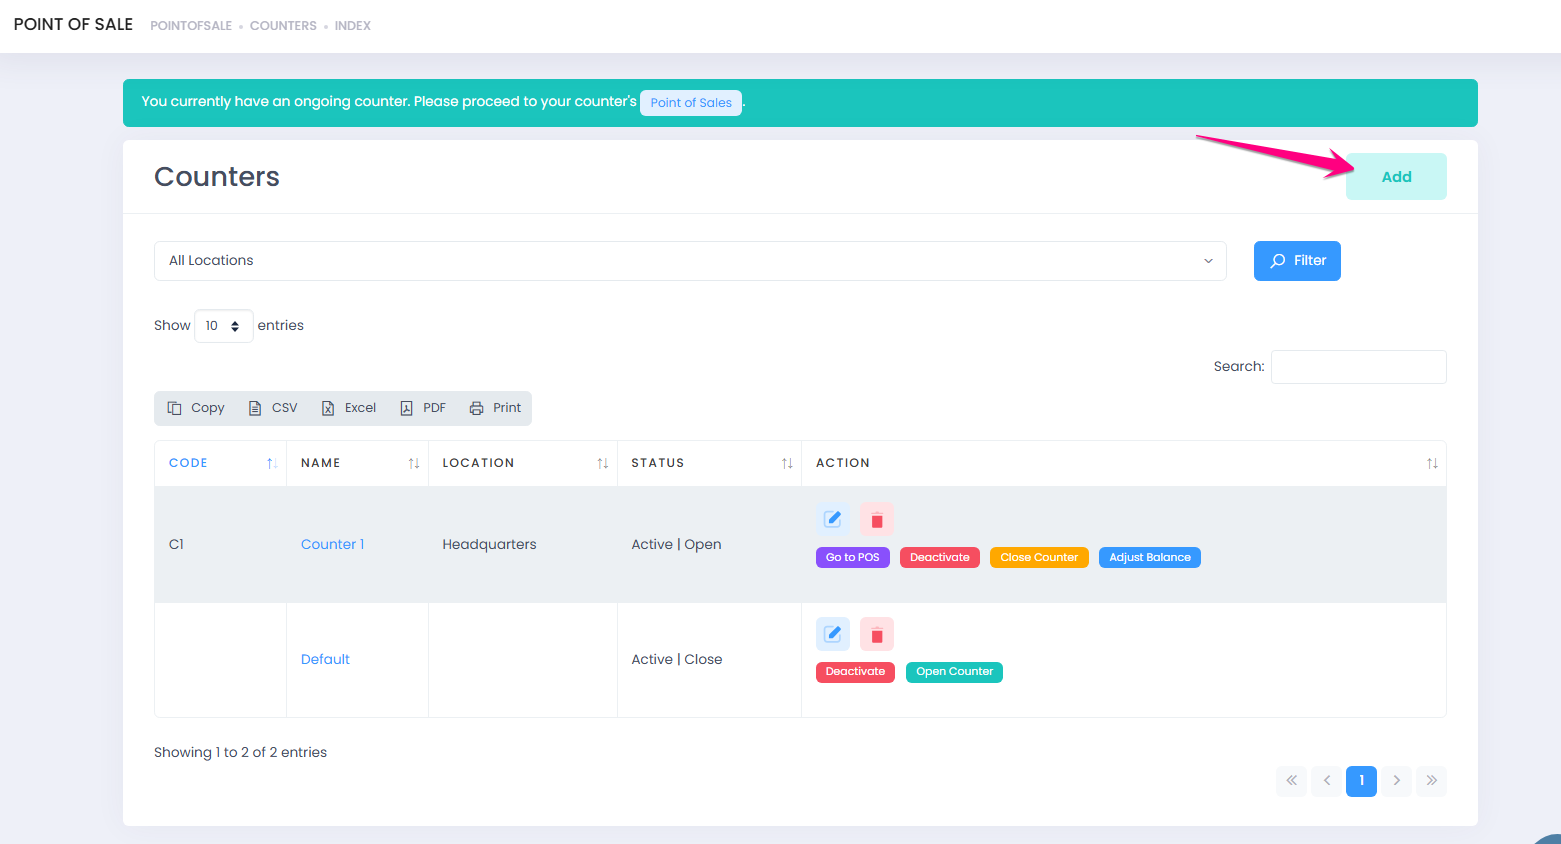
Step 2: Add New Counter
Click Add to create a new counter.
Use the screenshot below to locate the button.
Step 3: Enter Counter Details
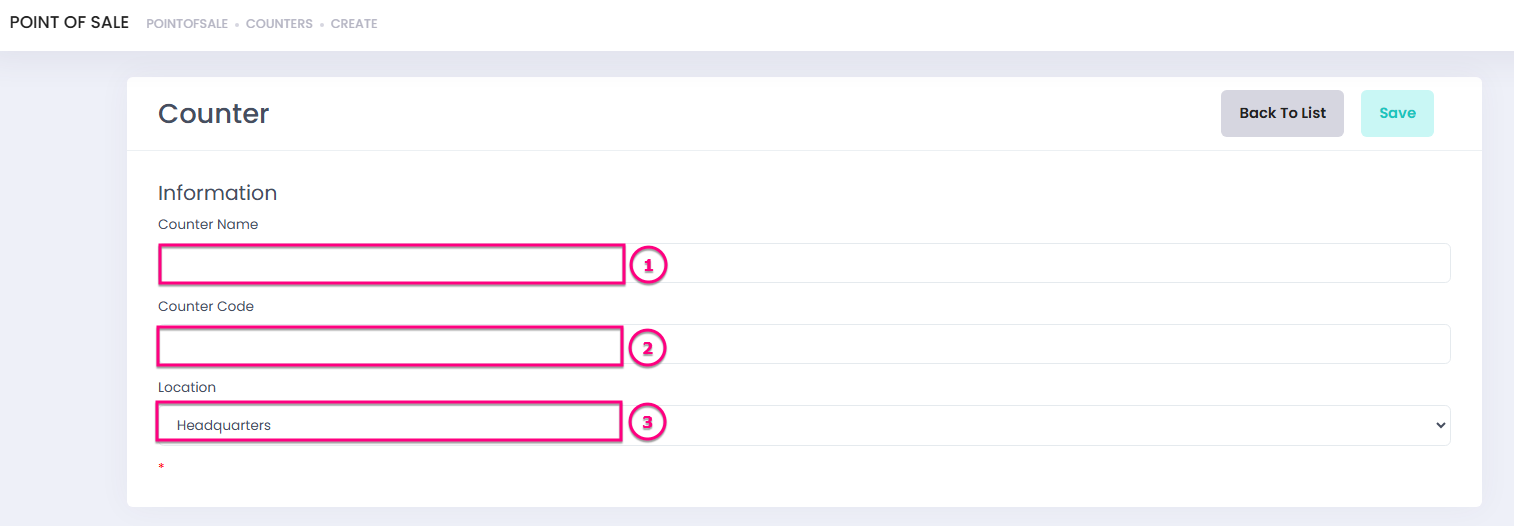
Fill in the required counter information:
|
No. |
Field |
Description |
|
|
1 |
Counter Name |
Name used to identify the counter |
|
|
2 |
Counter Code |
Unique code assigned to the counter |
|
|
3 |
Location |
Location where the counter is operating |
|
After completing the information, click Save.
Step 4: Verify Created Counter
After saving successfully:
- Click Back to List.
- The newly created counter will appear in the counter list.
The counter is now available to be opened for sales transactions.
Step 5: Open Counter
To start using the counter:
- Select the created counter.
- Click Open Counter.
- Enter the Opening Amount.
- Click Open Counter.
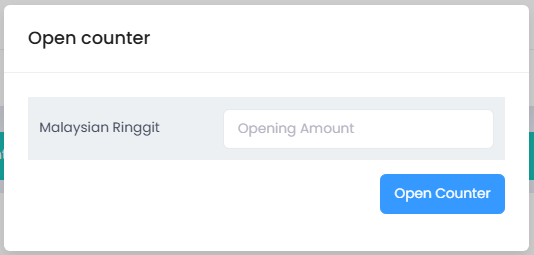
The POS screen will be displayed once the counter is successfully opened.
Important Notes
⚠️ A counter must be opened before creating any sales transaction.
⚠️ Each counter should represent a specific sales location or cashier station for better transaction tracking.
⚠️ Opening Amount refers to the starting cash balance available in the counter before sales begin.
Summary
|
Action |
Result |
|
Create Counter |
Creates a new POS sales point |
|
Save Counter |
Stores counter information |
|
Open Counter |
Allows user to perform sales transactions |
|
Enter Opening Amount |
Records starting cash balance |