
ONLINE ONBOARDING
Step-by-step tutorials to help you get started with OCLite faster.
Step 1: Global Configuration
Step 2: HRMS
1. HRMS Configurations – Manage Department
2. HRMS Configurations – Manage Designation
3. HRMS Configurations – Manage Job Classifications
4. Staff Management – How to Add New Staff?
5. Staff Management – How to Edit Staff’s Information?
6. Leave Setup – Step 1: Define Leave Types
7. Leave Setup – Step 2: Leave Entitlement Defaults
Step 3: Payroll
Step 4: Accounting
1. Accounting Configurations – Wizards
2. Accounting Configurations – Accounting Period
3. Understanding Chart of Accounts
4. How to Create and Manage Customer (Debtor)
5. How to Create and Manage Invoice
6. How to Create and Manage Receipt (Receive Payment)
7. How to Create and Manage Credit Note
8. How to Create and Manage Debit Note
9. How to Create and Manage Supplier (Creditor)
10. How to Create and Manage Receive Invoice
11. How to Create and Manage Self-Billed Invoice
12. How to Create and Manage Payment (Issue Payment / Payment Voucher)
13. How to Create and Manage Received Credit Note
Step 5: Pricebook
Step 6: CRM
Step 7: POS
Step 8: System Enhancements (Optional)
Global Configuration
1. How Do I Change My Username, Email, or Password?
2. How to Set Reports Template?
4. What Should I Do If I Forgot My Password?
HRMS
1. HRMS Configurations – Manage Approvers
2. Staff Management – Resign, Deactivate, Suspend & Unassign
PAYROLL
1. Manage Adjustments – Adjustment Purposes
2. Manage Adjustments – Add Adjustment Individually
CRM
1. Contact Book Overview (Leads, Accounts and Contacts)
3. Financial Transactions Overview
ACCOUNTING
Step 9: OC Lite Beginner Certification
Complete all onboarding modules to unlock and download your Beginner Digital Certificate.
Accounting Configurations – Reference Number
? Where to Access Accounting
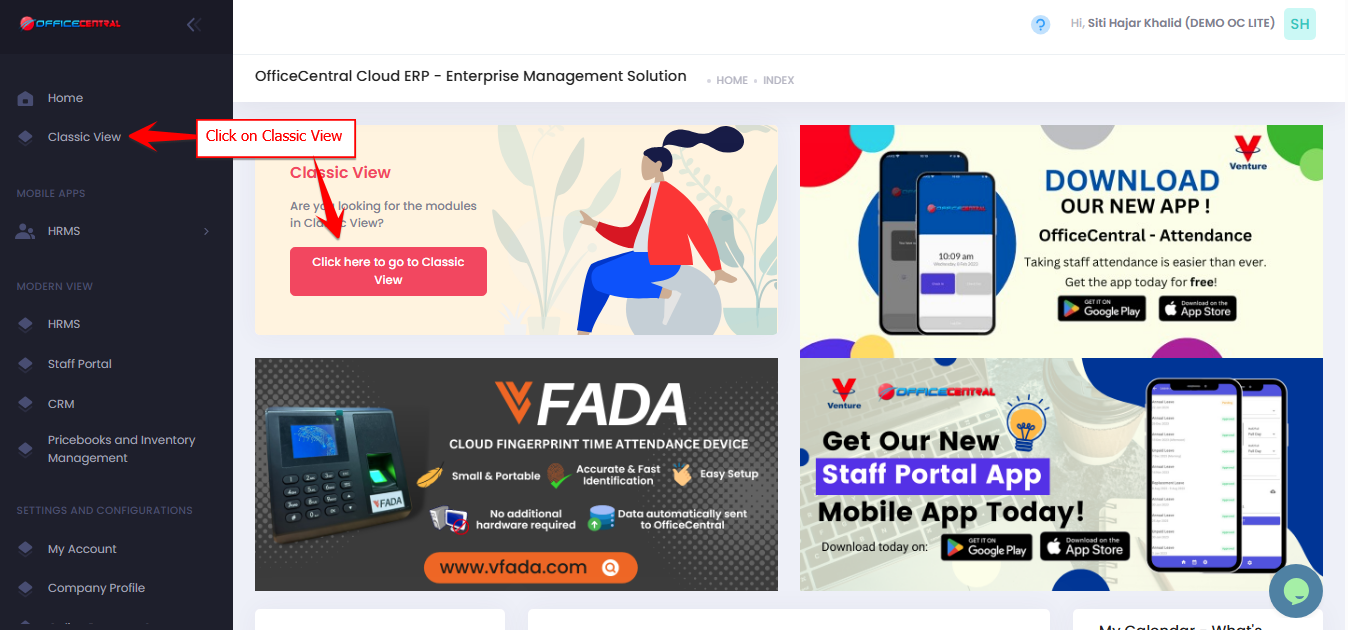

Where to Access This Function
-
Go to Accounting > Configurations
-
Click on Reference Number
Reference Number Setup
This setting controls how reference numbers for Accounting transactions (such as Invoice, Receipt, Credit Note, Debit Note, Payment Voucher, Self Invoice etc.) are generated.
Reset Period
You can configure when the running number resets.
| Setting | Explanation |
|---|---|
| By Year INV/{YYYY}/{X} |
The running number resets every year. Example: INV/2026/1, INV/2026/2 → next year becomes INV/2027/1 |
| By Month INV/{YYYY}/{MM}/{X) |
The running number resets every month. Example: INV/2026/01/1, INV/2026/01/2 → next month becomes INV/2026/02/1 |
This helps maintain organized numbering based on accounting or reporting periods.
Running Number Format
The system uses a standard running number format.
| Example | Result |
|---|---|
| Running number | 1, 2, 3, 4 |
| Not supported | 001, 0001, 01, 00001 |
The same rule applies to larger numbers.
| Example | Result |
|---|---|
| Number 11 | 11 |
| Not supported | 011, 0011, 00011 |
Important Recommendation
Once the reference number format is configured, users are recommended not to manually edit the reference number when creating transactions.
Manual changes may cause the running number to skip.
Example:
Reference format:INV/{yyyy}/{x}
Expected sequence:
INV/2026/1 INV/2026/2 INV/2026/3
If a user manually edits the number:
INV/2026/3 ← manually edited "INV/2026/3 - PROJECT ABC"
This may create gaps in the numbering sequence.
⚠️ Best practice: Allow the system to generate reference numbers automatically.